So, let's get straight to the point? ;)

Yours truly. Before and after.
This entry is inspired by Ling Luan NiNi (灵鸾妮妮), the famous Weibo & Tao Bao make up artist from China. If you don't know about her, you can see her amazing make up skill here:

I have been noticing people sharing her makeup tutorial photos on Facebook. Most of them are amazed at how different she looks before and after makeup. However, there are also quite a lot of offensive comments, especially from guys. For example...
"OMG girls are so fake nowadays!"
What's wrong with you guys? Is there anything wrong if she only look attractive after putting on makeup?!
" *Tag his girlfriend's name here* Please don't be like her! So scary!"
WHAT??? SCARY??? If there is no difference before and after, then WHAT IS THE POINT FOR WOMEN TO MAKEUP?!
"This is why makeup should be banned!"
WTF?! This comment totally sums up the attitude towards women with makeup from an extremist.
Guys, if you are looking for girls with flawless complexion, innocent eyes and naturally soft pink lips without wearing any makeup or cosmetic circle lens, I suggest that perhaps you should go back to your kindergarten? For those girls who are naturally good looking, the physical beauty is a gift of God to them. However, I believe that makeup is a gift from heaven to every woman. Not every woman can look glamorous without make up. If it's a norm for short girls wearing heels to make themselves look taller, then why not for those who makeup to make themselves look better?

Inspiring by Ling Luan NiNi's "Forever 18 Girly Younger Look' makeup tutorial which you can refer here, I have done a much simpler makeup tutorial for this entry. Hope this entry will be a useful tip for the beginners! :)

Me in the morning with messy and frizzy hair + nerdy look w/o cosmetic lens -____-
And makeup-free face with awful acne scars which I hate hate hate hate hate it!
First of all, the basics:

Products used: ZA Power Block UV Sunscreen, Beauty Credit Lovely Green Tea BB Cream,
ZA concealer & KATE Shimmer Loose Powder
 After applying sunscreen and with Barbie lens on.
ZA concealer & KATE Shimmer Loose Powder
 After applying sunscreen and with Barbie lens on.
 Apply this small amount of BB cream evenly on each side of the cheek.
Most of the time, I use my fingers to apply makeup because I don't have any makeup brushes.

Apply several dots of concealer on the dark eyes circles, nose wings & lip corners. NEVER RUB the concealer, ALWAYS TAP it on the necessary areas. I always fail to squeeze the concealer for the right amount, so I will apply those excessive concealer on my acne scars as well.


 CANMAKE Cheek & Cheek #01 & #04
 After applying the baby pink blush. Not looking obvious in the photo because of the lighting.
Not to forget, use the pearl glitter powder to highlight the nose bridge.
This will make your nose to look taller and more prominent.
This will make your nose to look taller and more prominent.
Secondly, the eye makeup.
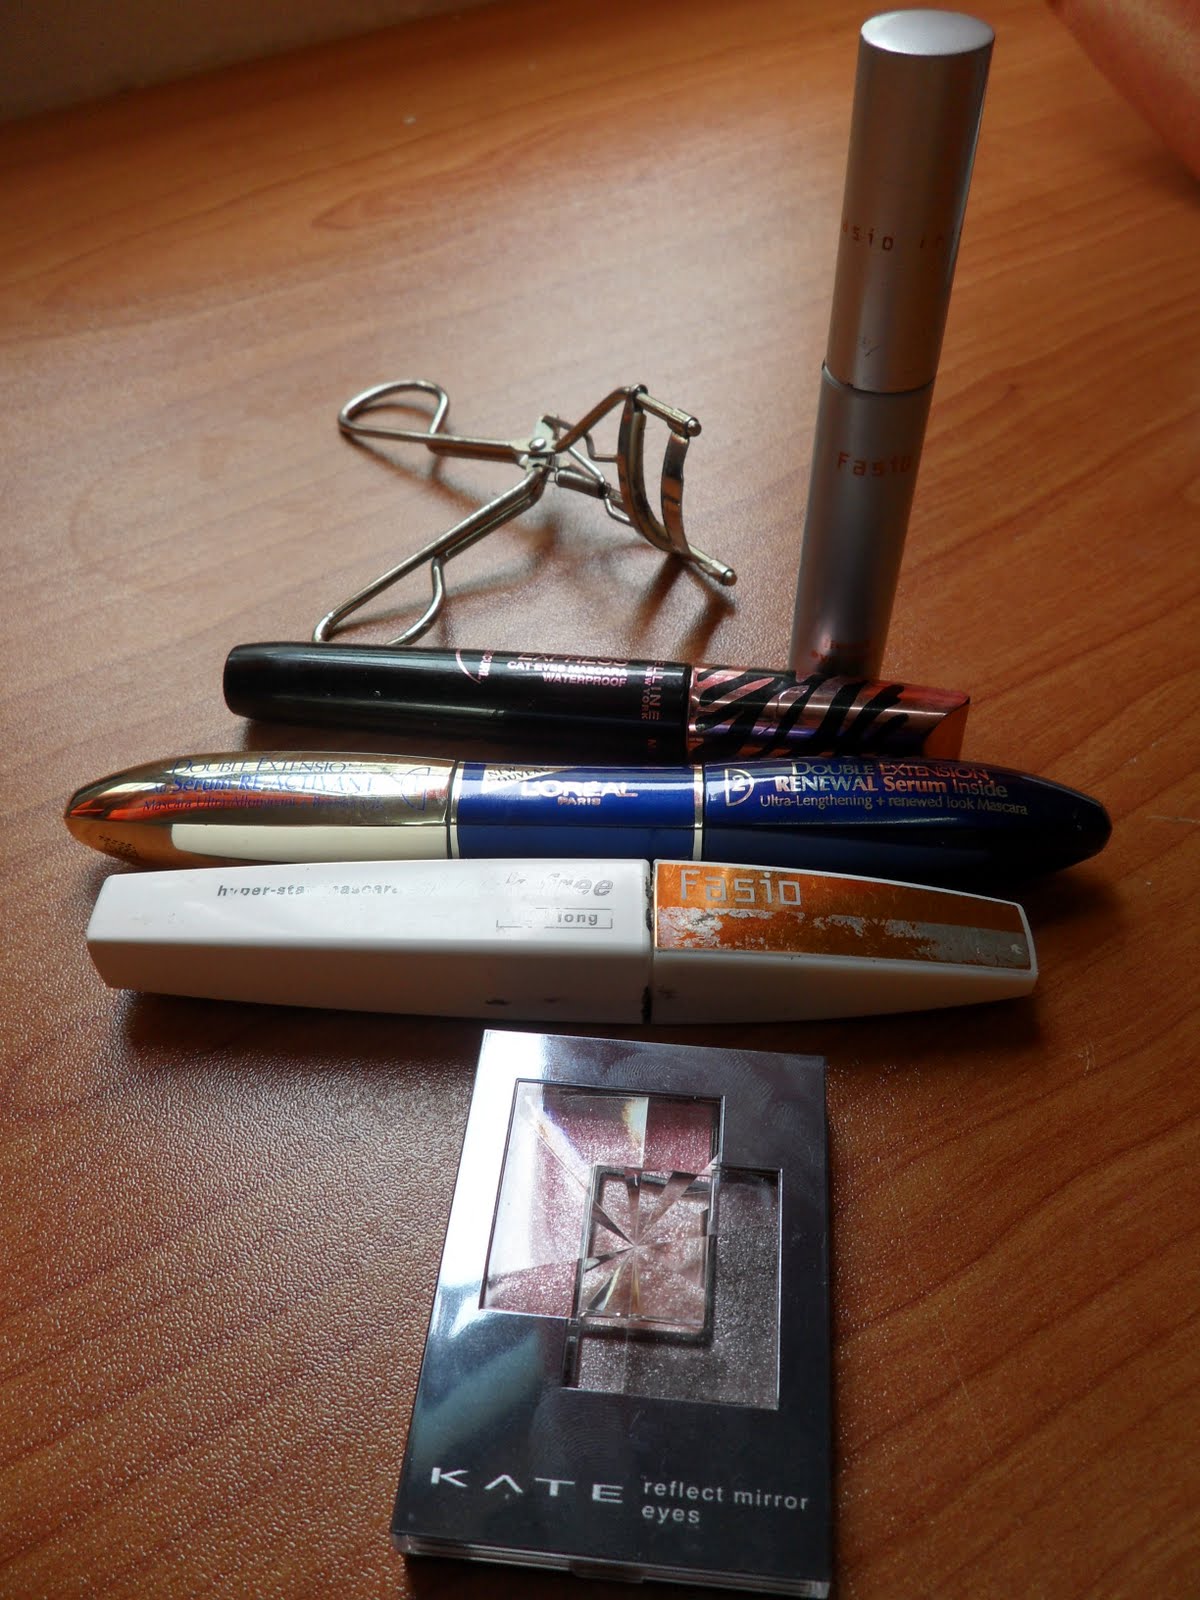
Products used: Eyelash curler, L'oreal Double Extension au Serum Re-activant,
Fasio Power Stay Mascara & KATE reflect mirror eye shadow
Fasio Power Stay Mascara & KATE reflect mirror eye shadow

I am using KATE dark brown eye shadow to draw my eyeliner with uplifted corner at the edge.
 Suddenly comes out the idea with this GIF when sorting the photos :P
 Suddenly comes out the idea with this GIF when sorting the photos :P
Highlight the inner corner of my eyes with KATE glittery pink palette but the colour looks more like silver white glitter.

Curl the lashes. Hold the curler upright for around 10 seconds.
Rub the fingertips and cover it over the lashes to create a warm 'perming' effect.
Rub the fingertips and cover it over the lashes to create a warm 'perming' effect.

After curling the lashes, use the serum re-activant on the left side of L'oreal Double Extension Mascara to extend your lashes longer.


Using my favourite Fasio Power Stay mascara in this pic. It's been the only mascara that doesn't clump and smudge so far, if compared to other brands I've used before such as L'oreal Double Extension mascara and Maybelline Volume Express.

Transparent root falsies are highly recommended as it look much more natural than normal falsies.
I usually trim the fake lash into half as shown in the picture above.
I usually trim the fake lash into half as shown in the picture above.

Stick the partial lashes on the outer corner of the eyelids.
I personally think that it looks better than sticking full set of the lashes.
I personally think that it looks better than sticking full set of the lashes.
The result:

Lastly, the lips.

I'm using Maybelline Cranberry Jam lip balm for this entry. I have never used lip gloss as I really hate its sticky texture.
Alternatively, you can choose lipstick for a longer lasting colour on your lips.
Alternatively, you can choose lipstick for a longer lasting colour on your lips.
The final outcome ♥ ♥ ♥ ♥

I curled the lower end of my hair in this pic. No more messy auntie hairstyle :P
 Before & after. Hope you will like both version of me? ;)
HAPPY NEW YEAR EVERYONE!!!
♥ XOXO ♥